Out on the trail, a sturdy basic shelter can make the difference between a good night’s sleep and a rough one. Having slept in a puddle more than once, and even under a tarp drooping in my face under the weight of snow, I’ve learned the value of setting up a shelter well.
With a few easy knots and some set up tips, you can enjoy the sweet dreams you deserve after a satisfying day on the trail.
Tent or Tarp?
Which will it be? Tent or tarp? On Outward Bound expeditions that cover the basics of wilderness training, you’ll likely have the chance to learn tarp set up. Tarps are much lighter than tents, they are quite versatile and they can be adapted to many different situations. Tents are used more often when Outward Bound groups sleep on snow up high in the mountains during expeditions in the colder climates, where extra warmth and wind protection are important. Tents are also preferable in very buggy areas, despite their weight.
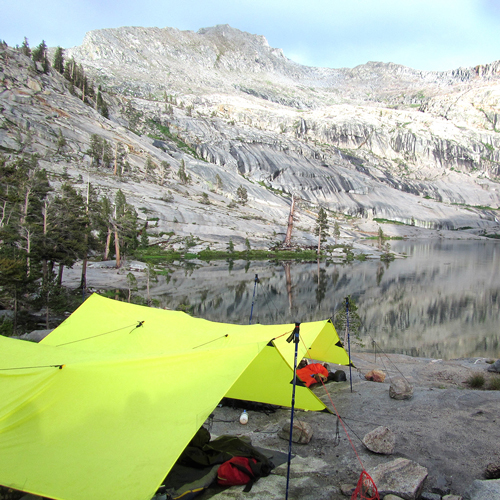
Lightweight tarps are lifesavers for wilderness training.
Tip: Care for your tarp and it will care for you. Be careful if you sit or step on your tarp. It can easily be punctured by thorns, sharp rocks or little sticks poking through.
Be Prepared
The beauty of a tarp is that you don’t need much to set it up. Be sure you have plenty of cord. It’s a good idea to measure and cut pieces 12 feet or longer, for at least six to eight ties. Nylon cording is recommended, as it is stronger and easier to tie than cotton or twine options. With nylon cords, carefully singe the last half inch of cord with a lighter or match so that it doesn’t unravel into a batch of loose threads. Don’t do this with cotton or twine however, as you might start a fire.
You’ll want cord for the four corners, plus two high points. A few extra cord pieces are a good idea to help you reach logs or trees that are farther away. In a pinch, use your boot laces; you can do without them for the night.
Other things that help you get that good night’s sleep include a plastic or nylon ground cloth to prevent moisture coming up from the ground, an insulating pad and your sleeping bag.
Tip: Be sure your ground cloth doesn’t stick out from under the tarp, or it will collect water if it rains. You don’t want to be sleeping in a puddle! If you do end up with a hole in your tarp, duct tape is excellent for a quick repair.
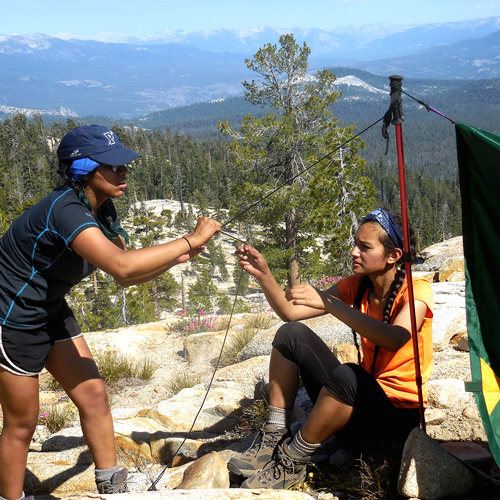
Practice teaching back what you’ve learned to a partner to help master your skills.
Site Selection
Whether tent or tarp, it’s important to choose the location for your shelter carefully. You’ll want to be near water (not too close, though, to minimize impact on the stream or potential flooding issues). Level ground makes for a more comfortable bed. Look up and be sure to avoid places where large dead branches could fall on your shelter, especially if it’s windy. These branches are called “widow makers.”
There are infinite ways to set up a tarp, and one of the most basic is an “A-Frame” between two trees that are just the right distance apart. The “right” distance depends on the length of your cords and the size of your tarp. Try to tie the top cord reasonably tight, like a clothes line, so it can support the weight of the tarp and not sag too much. The perfect site has two good-sized trees to provide support on each end of the tied tarp.
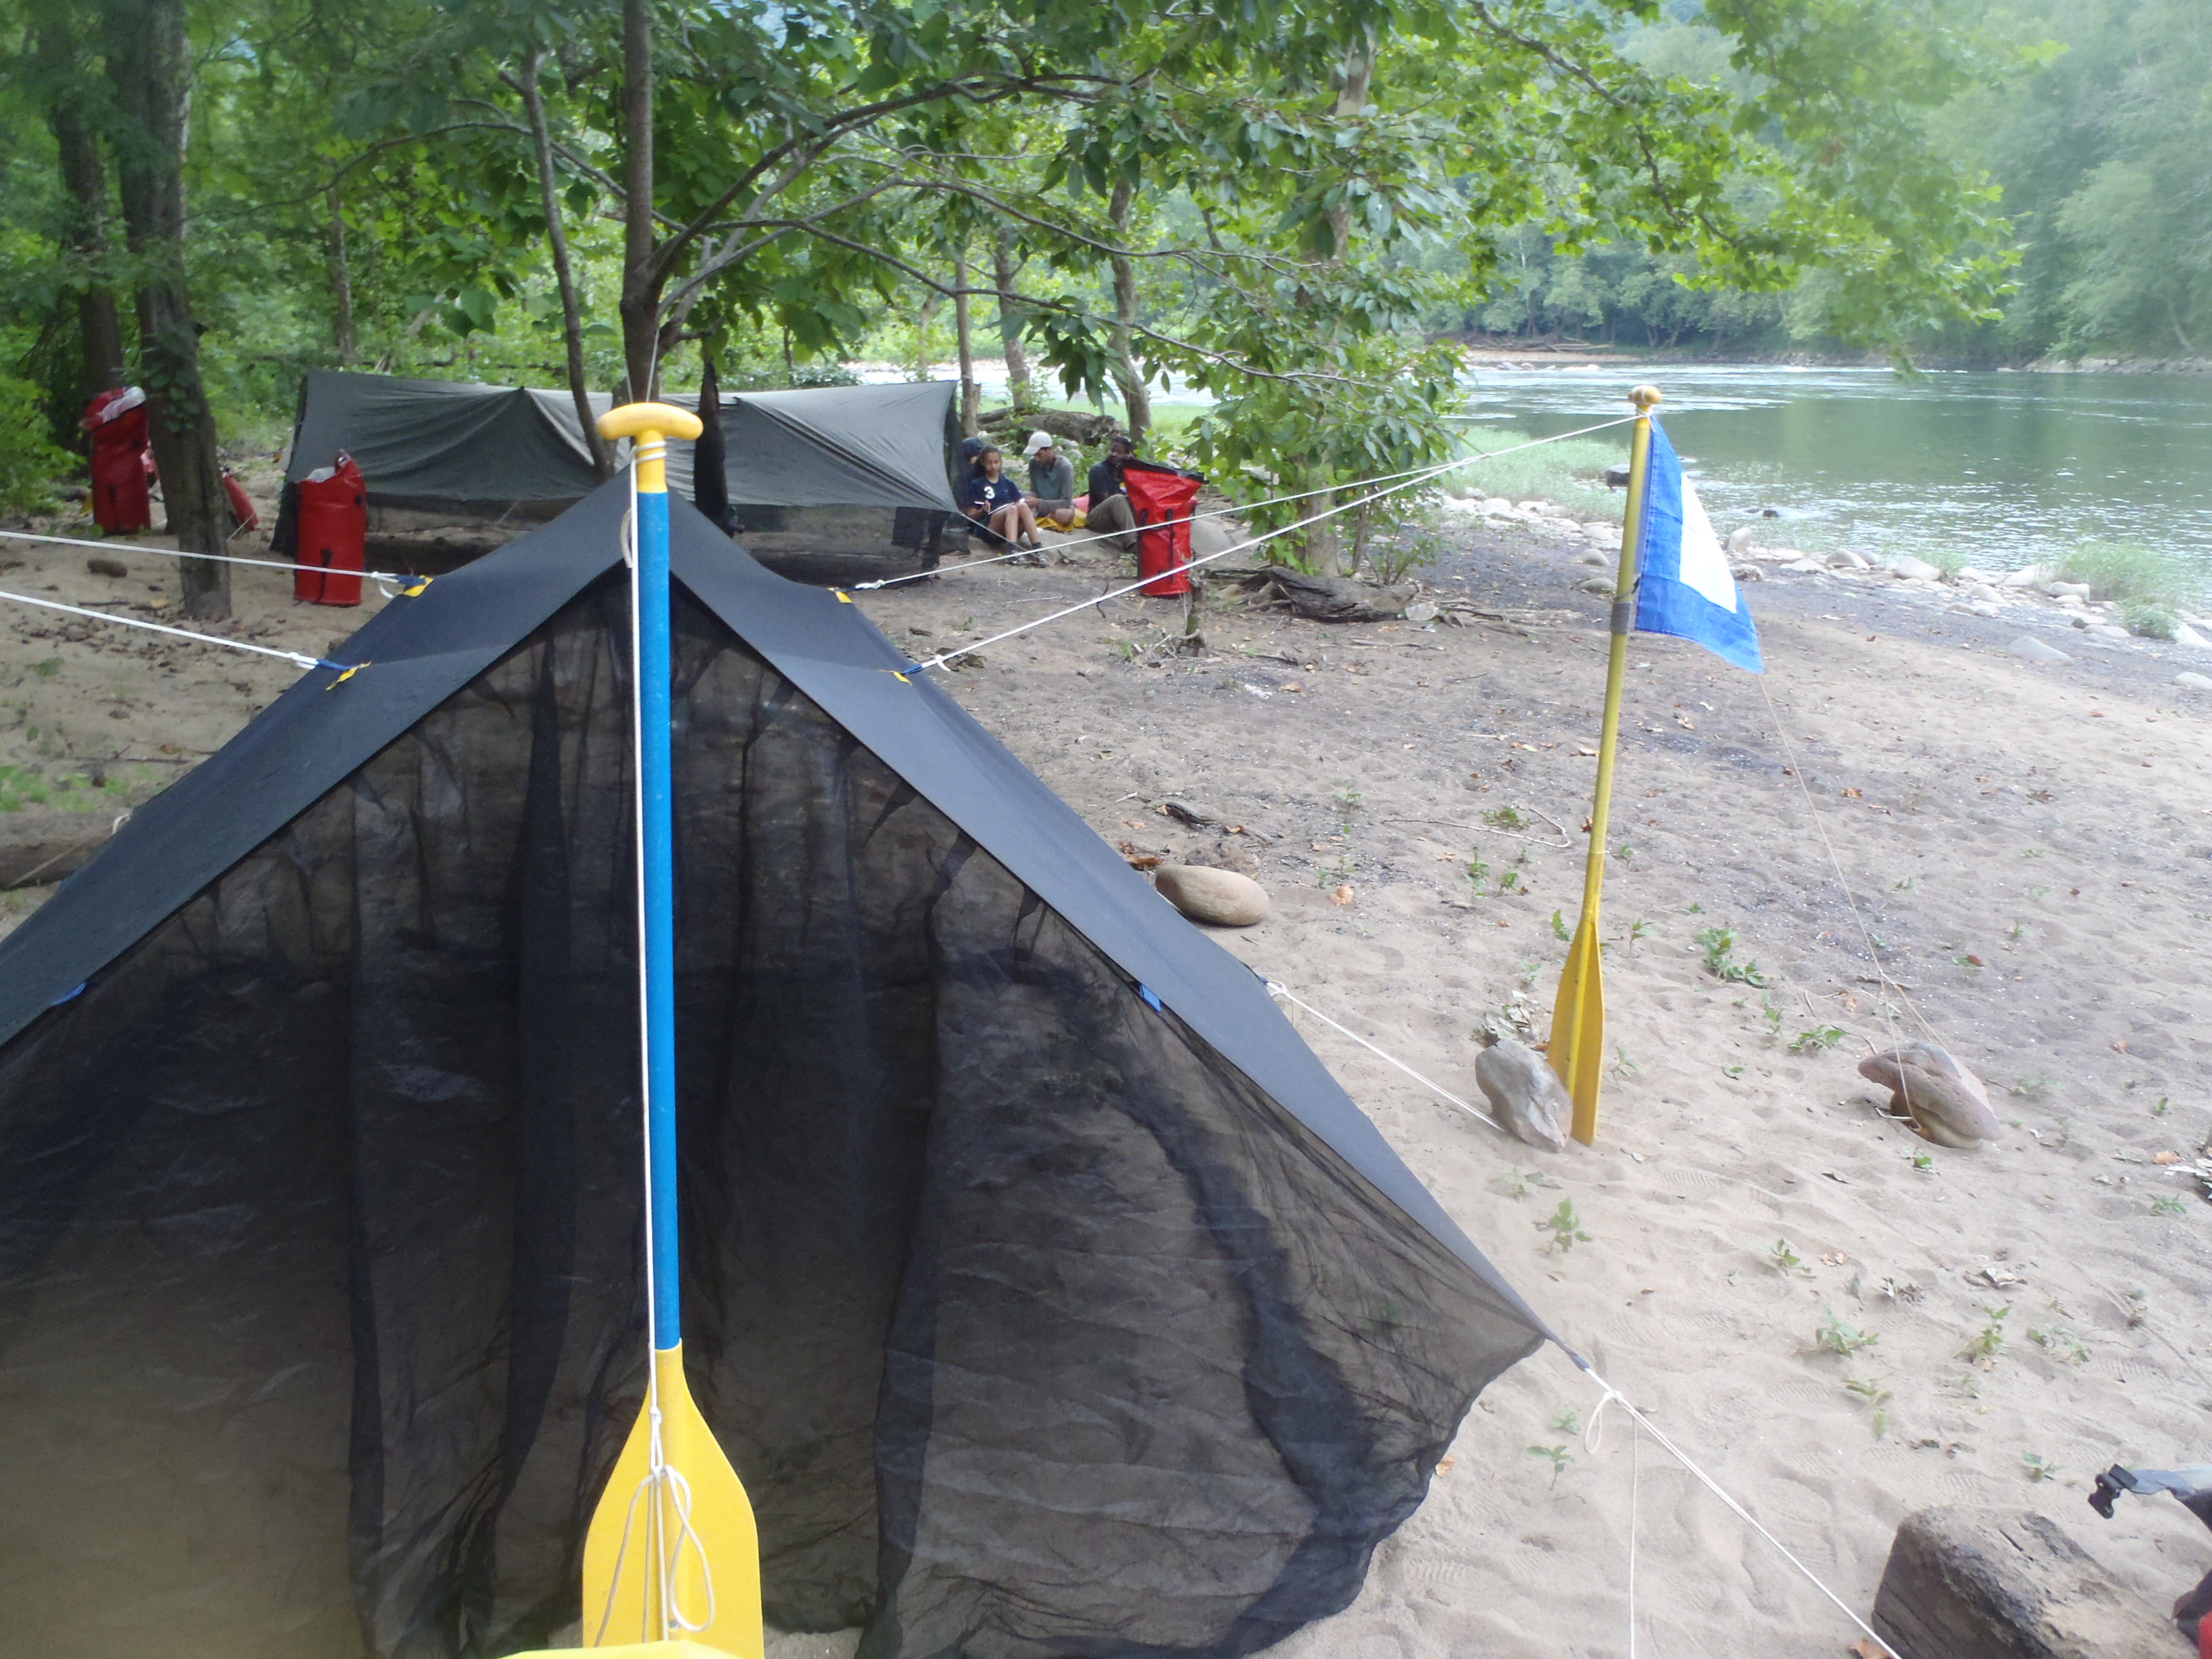
Setting up a shelter is a great way to flex your creative skills in finding resources around your camp area.
Structure: What Will Hold It Up?
Once you decide where your site will be, you’ll need to decide what will hold up your tarp. An A-frame, with the taut cord running down the long center of the tarp, is the most common option. You can also create a circus-like structure with the high point be in the middle. Or will you adjust it to be higher on one side than another? Will you need to improvise?
If you don’t have trees, you can still set up a tarp. You might use two trekking poles, one on each side, to hold up the center. Canoe paddles work great for this, if you can camp on sand or loose soil (so that you don’t break your paddle in the process). Or you might find a sturdy stick the right height to hold up two sides.
Tip: In the wind, build up a simple wall to help as a wind break; piling stones, logs or snow. If you have spare plastic, this can be part of your windbreak too.
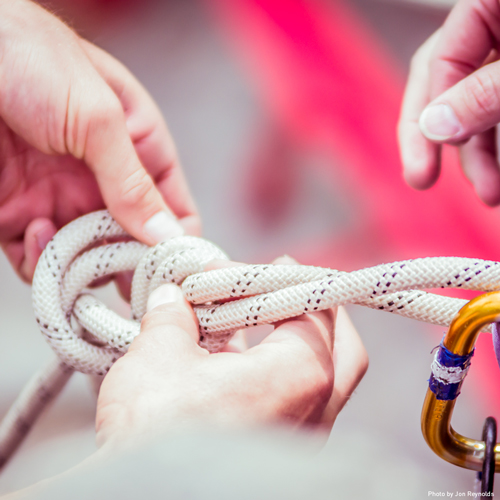
Learning how to properly tie knots is essential to successful wilderness training.
A Few Good Knots
Certain knots can really save you when you’re building your own shelter. Knots, beyond the ones you use to tie your shoes, require craftsmanship and practice and are a good addition to any wilderness training. When you are competent with them, teach them to someone else; then you’ll really know how to tie them. See one, do one, teach one is a well-used adage for a reason.
Basic knot terminology: The “working end” is the end you move around and do things with. The “standing end” is the still end of the cord (if there is one).
Knot #1: The Taut Line Hitch
This is a slide-and-grip hitch, which comes in handy when you’d like to tighten up your tarp, or make any adjustments. Use a quick-release loop to finish it, and you have an easy knot to untie in the morning when you take down your tarp. Practice this one until you can do it with your eyes closed. If you have to adjust your tarp in the dark in the rain, you’ll be so glad you know it well.
Credit: https://www.youtube.com/watch?v=Rv2GhpeXav8
Knot #2: The Bowline
Use a bowline to attach the cord to your tarp at the grommets. When tied properly, the bowline will be easy to undo and move to a different place on the tarp, should you need to.
Knot #3: Trucker’s Hitch
A Trucker’s Hitch can be useful when using a large rope to set up a big tarp. You’ll want to get the rope tight, which is harder to do with a large rope. That’s where the Trucker’s Hitch comes in. Be sure to use the quick release to make it easy to tear down in the morning.
Knot #4: Basic Loops
You can get by in many situations with the most simple knot: making a loop and taking the working end through it.
Sometimes you need to grasp the tarp in a place where there is no grommet. Here’s where a tarp is more adaptable than a tent: you can put a small smooth stone or a 2-inch ball of grass inside a handful of tarp (anywhere on the tarp), and then tighten cord around it with 2-3 loops. Then take the other end of the cord to a branch or other tie-down. This gives you total flexibility in shaping your shelter!
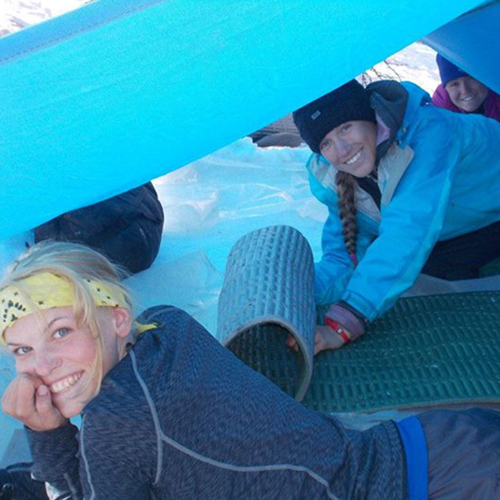
Lightweight tarps are lifesavers for wilderness training.
Beyond Tarp and Tent
It is possible to build shelters from materials available in the natural world around you, though they may require more time and effort. In a pinch, you can lay sturdy branches against a log, then pile leaves and sticks over it in layers for a small leaf cave. The leaves will insulate you and keep out rain, if it is built well. Take time to create a good structure of sticks, then add layers of leaves which are held down by even more sticks. Repeat this process. Put dry leaves inside, and enjoy a cozy natural shelter.
In snow country, you can build a quinzhee shelter by making a mound of snow and digging a cave into it. Or build an igloo by stacking blocks of snow, as native people have done for millennia. These snow shelters offer the chance to customize your home: carve shelves for candles or personal belongings, or create platforms for sleeping.
Building your own shelter is one of the most satisfying aspects of being in the backcountry, and one of the best skills to learn during your wilderness training. As you set it up, you’re preparing for a cozy night of rest. A snug shelter will keep you warm and dry, or at least cover your head, so that you can savor the night sounds and enjoy the simplicity of being out on the trail. Take the time to set up with thought and care, and enjoy the fruits of your craftsmanship and effort!
About the Author
CJ Wilson is a former Outward Bound instructor and serious fan of the tarp. She carries a lightweight tarp on most of her adventures, backpacking and bike travel. She writes from her base camp in North Carolina.
OTHER POSTS YOU MAY LIKE
Read More
Read More
Read More


