When backpacking, you’re like a turtle . . . you carry everything you need with you on your back! You essentially carry a portable kitchen, bedroom and roof over your head. It can seem like a lot to squeeze into the pack. And since a lighter pack is much easier to carry, you don’t want to take unnecessary items. Factors like weight distribution, organization and pack capacity can influence how heavy a pack can be, and can take away from the enjoyment of your adventure.

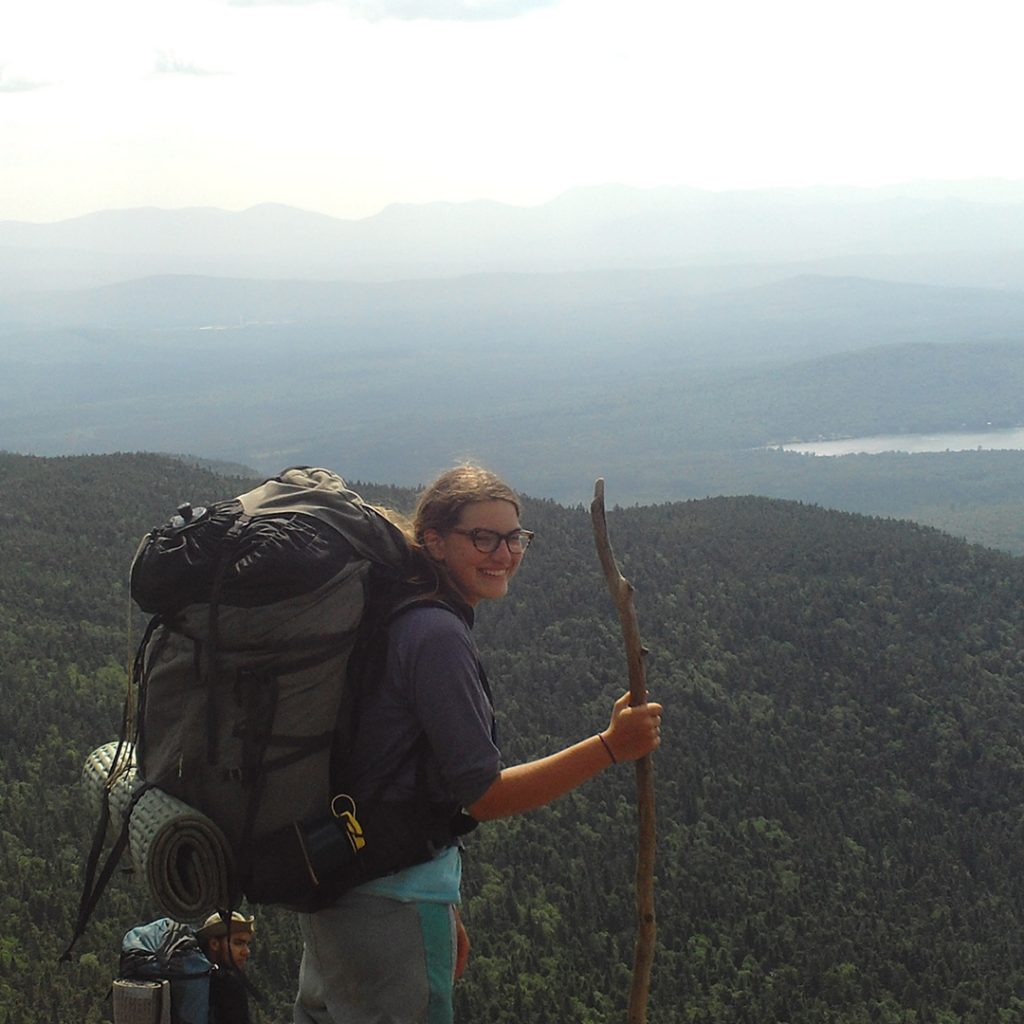
Photo taken on a Maine Appalachian Backpacking & Canoeing expedition.
Let’s look at some guiding questions to get you started. As a long time adventurer and former Outward Bound Instructor, I’ve taught hundreds of people how to squeeze everything they need into their “home away from home.”
It’s important to stress that there’s no one “right answer,” but we’ll get you thinking strategically about packing up so that you have what you need on the trail. Let’s start at the very beginning:
What should you pack on a backpacking trip?
Here are the essential items to have with you on any backpacking trip:
- Map: waterproof or in a ziploc bag
- Compass: of course, it’s essential you know how to use it.
- Whistle: Attach a whistle to your compass for emergencies, and always have it with you.
- Water bottle, and a water purification system: water filter, SteriPen (which uses ultraviolet light to kill nasties), or chemical tablets. I always carry a backup, since water is so essential. On my last trip, my SteriPen didn’t work, despite a new battery. I was grateful to have chlorine tablets with me as a backup. You can boil water for several minutes to purify it, but that uses valuable fuel.
- Clothing: appropriate for the weather and season, including warm non-cotton layers, rain gear, proper footwear
- Lightweight cook stove, pot and fuel
- Cup, bowl and spoon
- Lighter or matches (in waterproof bag or container)
- Food
- Sleeping bag
- Sleeping pad
- Tarp or tent
- First aid kit: Along with a kit, it’s important to know how to treat the most common injuries on the trail, such as burns, cuts and strains/sprains.
- Headlamp and spare batteries
- Personal toiletries (toothbrush, etc.)
- Toilet paper and lightweight towel
- Sunglasses
- Sunscreen
- Bear canister or strong cord to hang food, depending on the bear situation where you’re hiking.
Optional
- GPS: Always have map and compass, in case your technology doesn’t work, the battery dies, etc.
- Hiking poles
- Lightweight camp shoes (crocs, water sandals). These give your feet a rest after a long day in boots. They can be especially useful if your route includes major stream crossings where you need to walk in water.

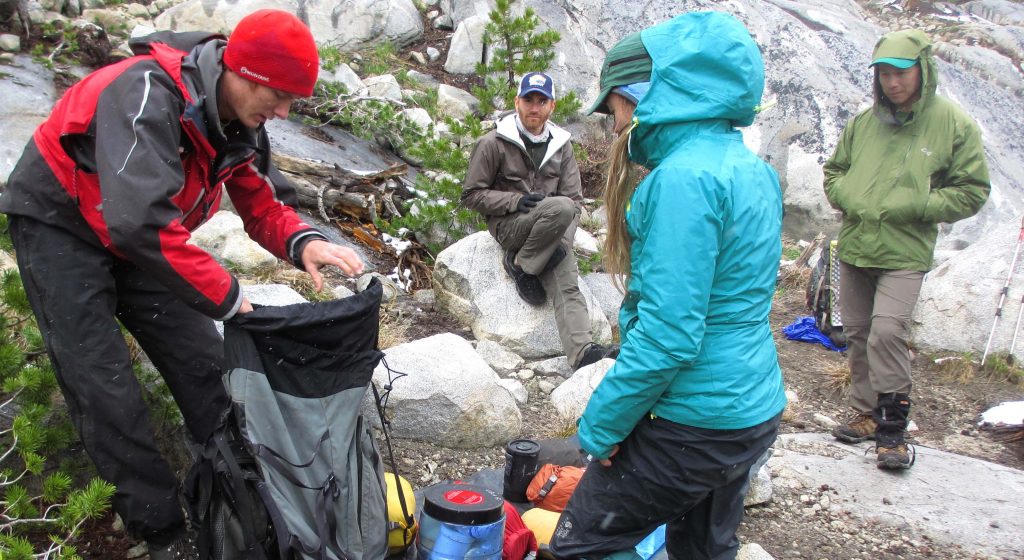
Photo taken on a Yosemite, Joshua Tree & San Francisco Outdoor Educator expedition.
Next, let’s tackle the other big question:
What should you leave behind?
There are thousands of useful items you could carry, which would be fun to have on your backpacking trip. If you spend lots of time on the trail, however, you’ll realize that less is more. The more you take, the more you have to carry. Leave those fun gizmos at home (anything that didn’t make the essentials list), and save them for your next car camping trip.
Ask yourself, “Can I do without this for a few days and still have a safe trip?” Take only the essentials. Leave the rest behind. Think of it this way: pack for safety first, comfort next and leisure last. Remember why you’re going out, see how simply you can live and at the same time be prepared for the weather and terrain you’ll be crossing. I find that living well in the outdoors means having just what I need. And when I get home, I appreciate the comforts all the more, for having spent time with only the bare essentials.
How to organize your backpack
Now’s the time to think strategically. Since you don’t want to have to empty out your backpack every time you stop for water or a snack, or to read your map, you’ll want to put some thought as to what goes at the top of your pack and what goes in the bottom.
Keep these items handy
Throughout your daily trek, you’ll stop often for water or snacks to stay hydrated and energized in-between meals. Keeping a water bottle, a bit of trail mix or an energy bar handy in an outside pocket will save you the trouble of digging around in your bag for that one thing you need as your walking.
Just like you might look at the weather in the morning before you leave your house, you’ll likely take a look at your map and anticipate any obstacles you might encounter along the trail that day. Consider your environment and its weather patterns. You may need to keep your rain jacket or a warm hat at the ready in case a quick storm appears. If you’re hiking through a drier climate or mountaineering at high elevation, the sun can take a toll on your eyes and skin—the ability to easily whip out sunglasses, chapstick or sunscreen is important. If you know that you have a couple of creek crossings that day, you can keep your sandals on top or tied securely to the outside of your pack so that you’re ready to switch shoes smoothly.
The bottom of your backpack
You probably won’t need your sleeping bag during the day, so stuff it into a stuff-sack or compression sack, and squash it firmly into the bottom of your backpack. Pack large items first, and press them firmly (use those muscles!) down into the bottom of the pack.
Avoid putting hard items like a metal stove or fuel bottle next to your back where it can rub. Surround hard things with clothing. Stuff small items, like extra socks, to fill spaces, and soon you’ll have everything in your pack. Depending on the size of your tent and the size of your pack, you may or may not be able to fit the tent inside. If it’s inside your pack, it uses valuable space. If it’s outside, it’s less protected from prickly bushes or plants, which can puncture. If you keep the tent on the outside, be extra careful. Same goes with your sleeping pad if it’s an inflatable one. There’s nothing like a jagged thorn to take away your comfortable sleeping surface! Pack a sleeping pad inside the pack if it’s small. If it’s a larger closed-cell (not inflatable) pad, roll it up and attach it to the outside of the pack with a bungee cord or strap.
In general, it’s more comfortable to have heavy items near the bottom of your backpack. It helps to keep weight on your hips as you travel (as opposed to pulling on shoulders). If you can divide your food into “snacks to have handy today” and “food for tonight and tomorrow,” the latter can be buried in the bottom of your pack until you get to camp.

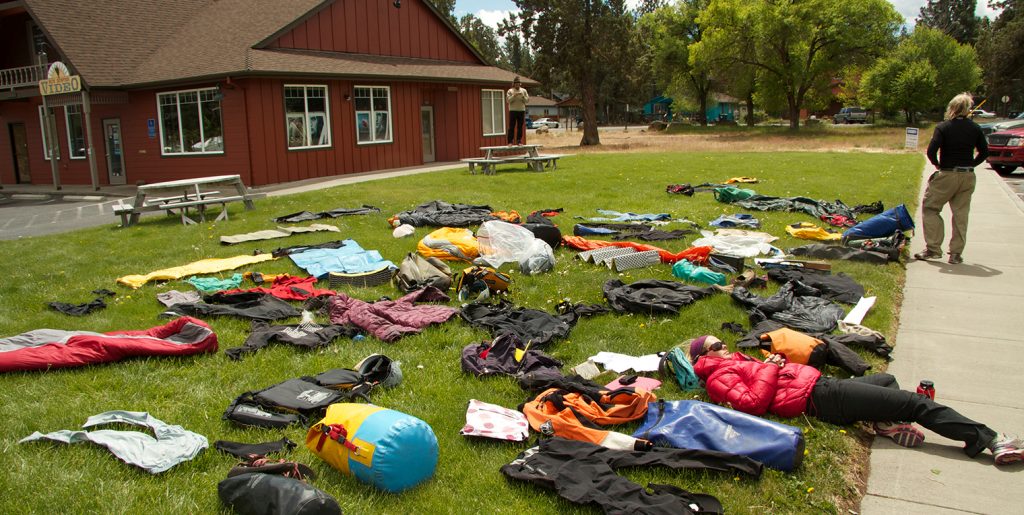
Photo shows the prep for a “duffle shuffle” before an Outward Bound expedition.
How do you keep your backpack dry in the rain?
Here’s an easy solution: Line your pack with a large, heavy-duty garbage bag. Contractor’s bags are super sturdy and work really well. A plastic bag that’s less sturdy requires more TLC, as it can easily rip and lose its invincibility.
Put the pack liner in first, before you put anything else in your backpack.
Another way to waterproof is to buy a pack cover. This sheet of nylon has elasticized edges which pull the cover around your pack. Either method can work well.
Splurge just a little?
Okay, you’ve done really well, taking only the essentials of warm clothes, food, sleeping gear and shelter. You look at that pile of other things longingly. I often allow myself one “luxury Item.” It might be binoculars, a pocket knife, a journal, a camera, deck of cards or a surprise dessert to share with friends.
If you could choose just one thing, what would be worth its weight to you? Consider taking a fun luxury item but beware the temptation to take them all! You’ll likely find that you’re busy having fun, navigating your path with your group, and savoring the beauty of cascading streams and mountain vistas, and that book you packed stayed in the bottom of your pack, weighing you down. No worries, you can always read it when you get back, when you’re resting your weary muscles in the comfort of your home.
When you pack with foresight and plan ahead for the unexpected, you’ll ensure you have a memorable adventure—memorable in the right way!
Hit the trail with us and check out upcoming backpacking courses here.

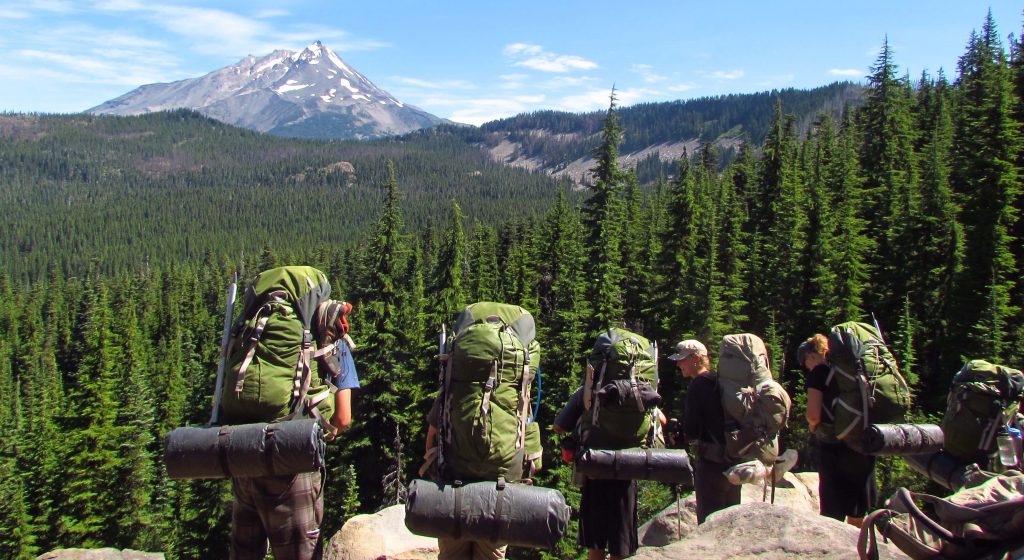
Photo taken on a Oregon Rafting & Mountaineering expedition.
About the Author
CJ Wilson is a long-time backpacker, mountaineer and former Outward Bound Instructor. She writes from her base camp in Asheville, NC.
OTHER POSTS YOU MAY LIKE
Read More
Read More
Read More


